
Use the Verified Address question in Survey Creator to collect accurate, standardized addresses from participants. The question uses Google address verification to help reduce entry errors and improve the consistency of address data.
How the Verified Address Question Works
When participants begin typing an address, a list of Google-verified address suggestions appears. After the participant selects the correct address, the survey automatically completes the remaining address fields based on the selected location.
Participants can then review the completed address and, depending on the question settings, update individual address fields when needed.
Add a Verified Address Question to a Survey
- Go to Study Settings.
- Open Survey Creator.
- In the question-type list on the left, scroll to the bottom.
- Select Verified Address.
- Add the question to the appropriate location in the survey.
- Configure the question properties as needed.
- Assign each address component to a Survey Variable when this supports your workflow.
- Save the survey.
Once the question is added, participants can enter an address, select a verified result, and have the remaining fields completed automatically.
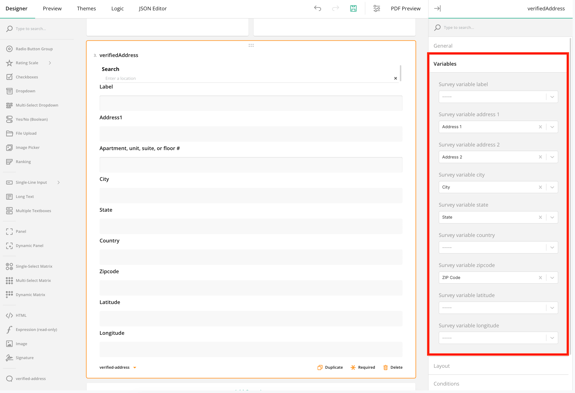
Assign Survey Variables
The Variables section determines where each part of the verified address is stored on the participant’s profile.
Each address component can be assigned to a separate Survey Variable.
The following prebuilt address variables are available:
- Address 1
- Address 2
- City
- State
- ZIP Code
To store additional address information, create the corresponding Custom Variables on the Requirements page. These may include:
- Country
- Latitude
- Longitude
After creating the Custom Variables, return to Survey Creator and assign each address field to the appropriate variable.
Components of the Verified Address Question
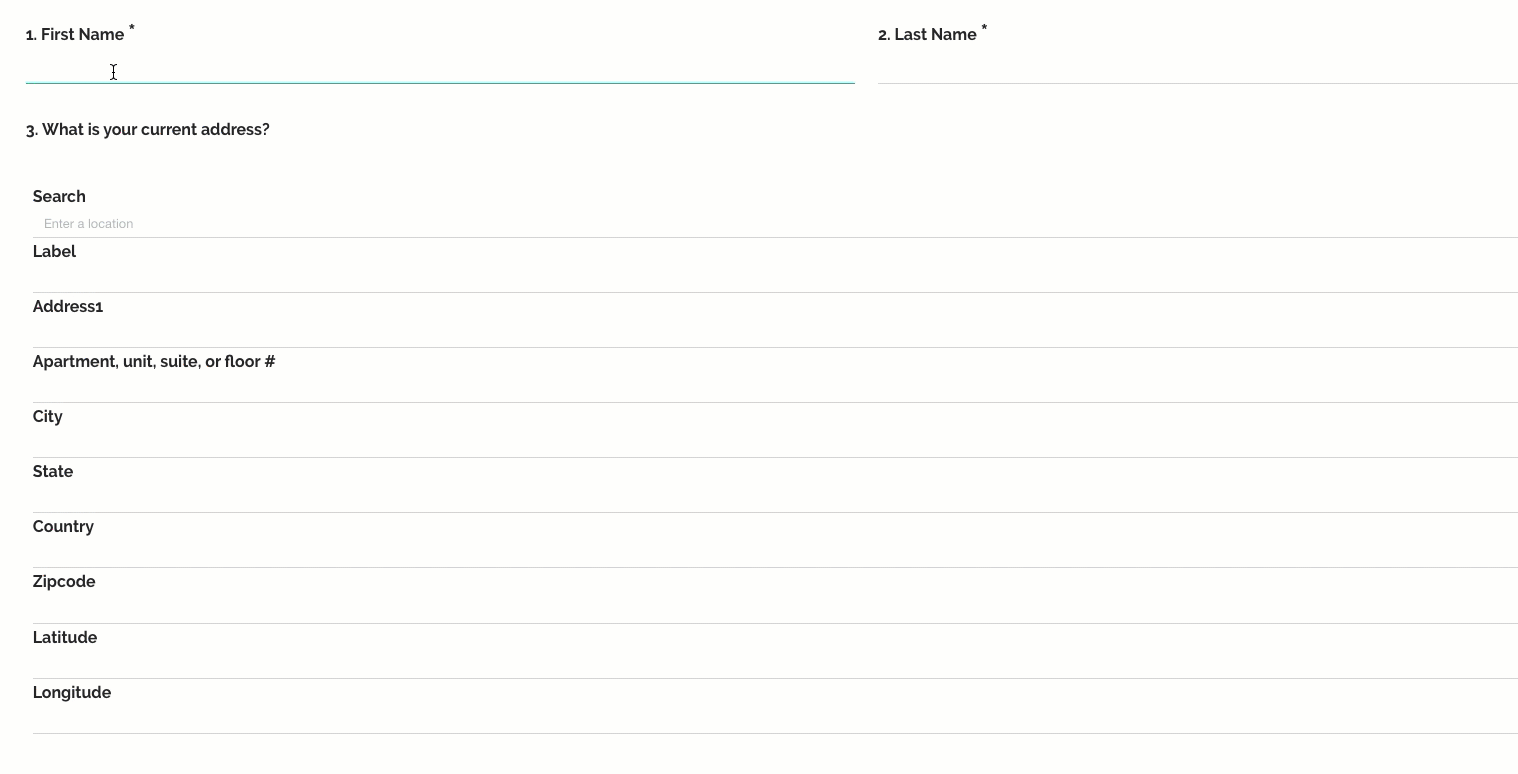
A Verified Address question automatically includes the following fields. Each of these fields can be renamed in the Properties box for the verified address question under the General tab.
Standard Address Fields
- Search: The field where participants begin typing and select a verified address.
- Label: Displays a business or location name when one is associated with the selected address.
- Address: The street address of the location.
- Apartment, Unit, Suite, or Floor #: Additional address information.
- City: The city associated with the address.
- State: The state, province, or region.
- Country: The country associated with the address.
- ZIP Code: The postal or ZIP code.
Geolocation Fields
- Latitude: The geographic latitude of the selected address.
- Longitude: The geographic longitude of the selected address.
Note: While you cannot add or remove fields, you can make the latitude and longitude fields invisible if needed.
Configure Verified Address Properties
The Verified Address question includes many of the same Logic, Layout, Data, and Validation settings available for a Single-Line Input question. It also includes properties that are specific to address verification.
General Properties
You can configure:
- The internal question name.
- The title displayed to participants.
- Whether the question is visible.
- Whether the question is required.
- Whether participants must select a verified address.

Collect Multiple Verified Addresses
You can add more than one Verified Address question when your survey needs to collect multiple addresses, such as a home address and mailing address.
However, only one address can be stored on the participant’s Contact Methods card at a time.
When multiple Verified Address questions are assigned to the Contact Methods address variables, only the last address collected will be saved to the Contact Methods card.
To retain multiple addresses:
- Assign the primary address to the Contact Methods variables.
- Create separate Custom Variables for any additional addresses.
- Assign each component of the additional address to its corresponding Custom Variable.
Clear or Replace an Address
Participants can correct an address selected in error by clearing it or selecting a different address.
Clear an Address
- Return to the Search field.
- Delete the current address.
- Press Enter to clear the selected address and its populated fields.
Replace an Address
- Return to the Search field.
- Delete the current address and begin typing the new address.
- Select the correct address from the list of verified results.
- Review the automatically completed address fields.
The newly selected address will replace the previous address in the survey response.